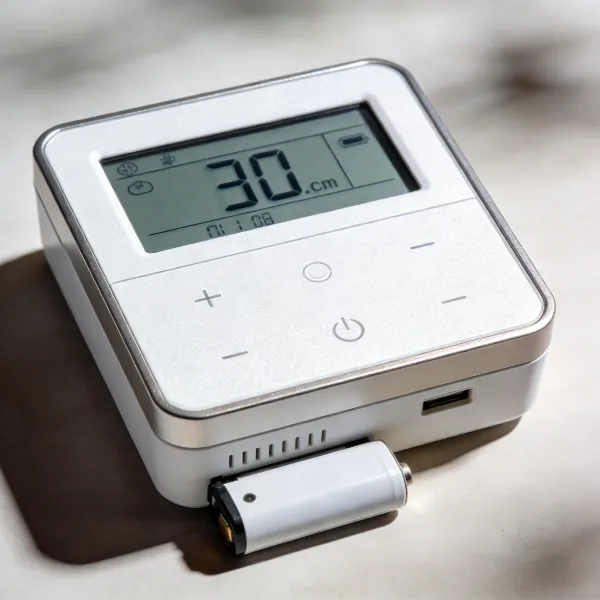
Installing a smart thermostat can be a game-changer for your home, helping you save on energy costs and enjoy better control over your heating and cooling systems. In this guide, we’ll walk you through how to install a smart thermostat, from gathering the right tools to setting it up using your smartphone. By following these simple steps, you’ll be ready to take full advantage of the convenience and efficiency a smart thermostat offers.
Essential Tools for Installing a Smart Thermostat
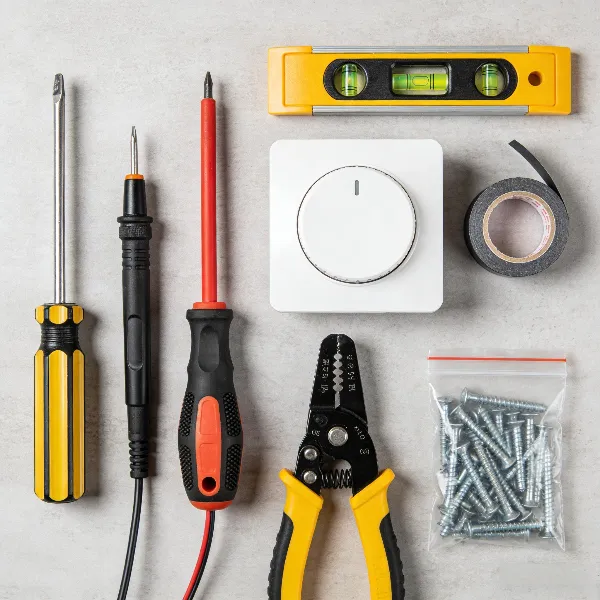
Before you get started with the installation, it’s helpful to gather the necessary tools. Having everything on hand will make the process smoother and quicker, so let’s go over the essentials you’ll need.
Screwdriver (Phillips and Flathead)
A good set of screwdrivers is a must. You’ll need both Phillips and flathead types to remove the old thermostat and securely attach the new one. Make sure the handles are comfortable to hold, and the tips fit the screws properly to avoid damaging them.
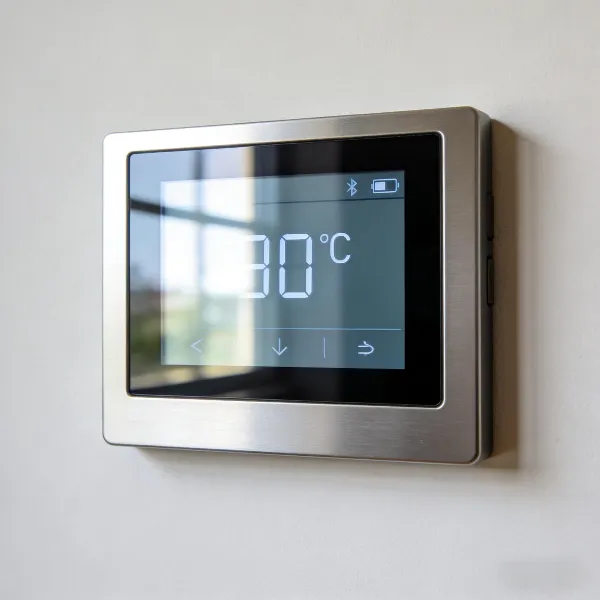
Smartphone for App Setup
A smartphone is essential for setting up your new smart thermostat. Most smart thermostats require you to download an app to control the settings, set schedules, and connect to Wi-Fi. Make sure your phone is compatible with the thermostat’s app before you begin the installation.
Level, Drill, and Wire Strippers
A level is necessary to ensure your thermostat is mounted straight. If the wall needs holes for the baseplate, a drill will be required. You’ll also need wire strippers to expose the ends of your wires and make secure connections.
Top Tips for Installing Your Smart Thermostat
To make your installation easier and avoid common mistakes, follow these handy tips. They’ll help ensure everything goes smoothly and that your new thermostat works perfectly.
Check Compatibility Before You Start
Not all smart thermostats work with every type of HVAC system. Before purchasing one, check that it’s compatible with your heating and cooling system. Some thermostats are designed specifically for certain systems, such as heat pumps or central air. You can usually find compatibility information on the thermostat’s packaging or on the manufacturer's website.
Use a Trim Plate for a Clean Finish
If your new thermostat doesn’t fit perfectly into the spot left by your old unit, a trim plate is a great solution. It covers any gaps or holes in the wall, giving your thermostat a clean, professional look. A trim plate also helps ensure the unit fits securely, even if the wall hole isn’t perfectly aligned.
Don’t Let Wires Fall Back Into the Wall
One common mistake when installing a thermostat is accidentally letting the wires fall back into the wall when you disconnect the old unit. If this happens, it can be frustrating to get them back out. A simple trick is to tape the wires to the wall or use a helper to keep them in place while you install the new thermostat.
How to Install Your Smart Thermostat
Now, it’s time to dive into the installation process. Here’s a step-by-step guide on how to install your smart thermostat.
Turn Off the Power
Before touching any wires, make sure to turn off the power to your HVAC system. You can do this by switching off the relevant circuit breaker. This is a critical step to avoid electrical shocks or damaging the system.
Document and Label Existing Wiring
Before removing your old thermostat, take a photo of the wiring or label each wire to ensure you can reconnect them correctly. This will save you time and prevent mistakes during the installation. Pay close attention to how the wires are connected to your old unit, as different systems may have different wiring setups.
Install the New Baseplate
Next, attach the baseplate of your new thermostat to the wall. Use a level to ensure it’s aligned properly. Drill holes if necessary and insert screws to secure the baseplate. Take your time to make sure it’s straight—this will ensure the thermostat sits properly once installed.
Connect the Wires
Now, it’s time to connect the wires to your new thermostat. Each wire should be connected to the corresponding terminal on the new unit. Double-check the wiring diagram in the thermostat’s manual to ensure everything is correctly connected. Secure each wire by tightening the screws on the terminals.
Installing the C-Wire
Many smart thermostats require a C-wire (common wire) for continuous power. If your HVAC system doesn’t have a C-wire, you may need to install one or use a C-wire adapter. This is important for ensuring your thermostat works continuously without relying on battery power.
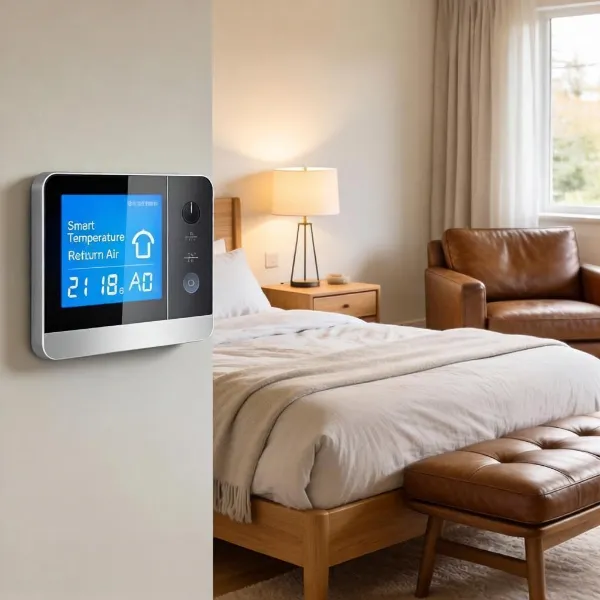
Finalizing the Installation and Setup
Once the wires are securely connected, attach the thermostat to the baseplate and tighten the screws. After everything is secured, power up the thermostat. Then, follow the on-screen instructions to connect it to your Wi-Fi network and finish the setup on your smartphone app.
Conclusion
Installing a smart thermostat is a manageable DIY project that can save you money and make your home more comfortable. By following these simple steps, you can complete the installation with ease and start enjoying the benefits of smart home technology. If you run into any difficulties, don’t hesitate to consult the manufacturer’s guide or reach out to a professional for assistance.